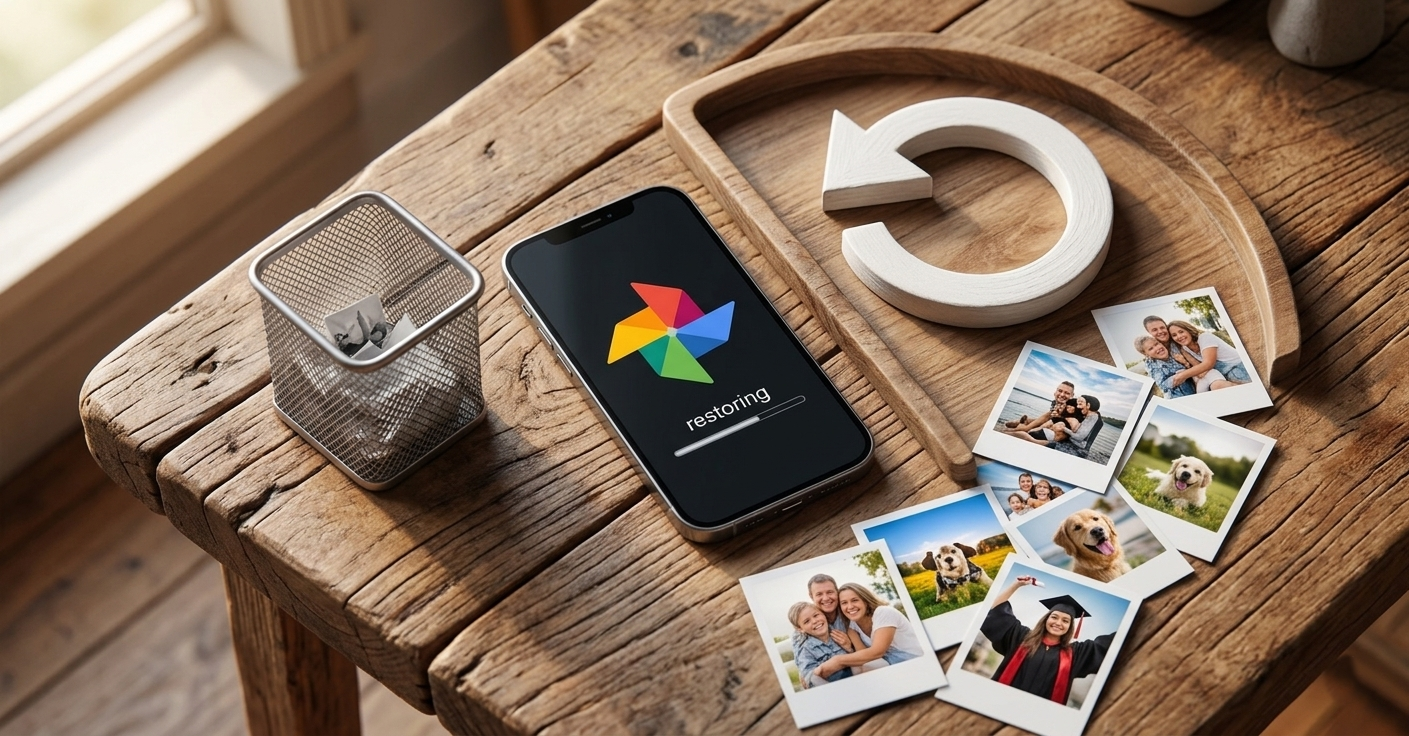
How to Recover Lost Photos on Your Phone
Your deleted photos are still hidden in your phone’s memory waiting to be rescued.
Anúncios
Every minute you wait, new data could overwrite your memories.
Recover your photos:
Losing precious photos is a digital nightmare.
Whether it was a botched iOS update, an accidental delete on Android, or physical damage during a hike in Yosemite, the panic is real.
Anúncios
The good news?
In the US, our cloud infrastructure and recovery tools are among the most advanced globally.
1. The Golden Rule: Stop Using Your Phone Immediately
Before we dive into tools, you need to understand how phone storage works.
When you delete a photo, the system (Android or iOS) doesn’t actually destroy the data instantly. It simply marks that space as “available.”
- The Science: If you keep taking new photos or downloading apps, the system will “overwrite” that available space with new data. Once overwritten, the old photo is gone forever.
- Action: Put your phone in Airplane Mode and stop saving new files right now.
2. Check the “Safety Nets” First
Most “lost” photos aren’t actually gone; they are just sitting in a temporary holding area.
For iPhone Users (iOS)
Apple provides a 30-day grace period.
- Open the Photos app.
- Tap Albums at the bottom.
- Scroll down to the Utilities section.
- Select Recently Deleted.
- Unlock with FaceID/Passcode.
- Select your photos and hit Recover.
For Android Users (Google Photos)
Google Photos is the primary backup for most US Android users (Pixel, Samsung, Motorola).
- Open the Google Photos app.
- Tap Library in the bottom menu.
- Tap Trash (or Bin) at the top.
- Long-press the photos you want and tap Restore.
- Note: Items stay here for 60 days if backed up, or 30 days if not.
3. Investigating the Cloud (The Invisible Backup)
In the US, many users have high-capacity iCloud or Google One plans.
Sometimes a photo disappears from your device due to a “Sync Error,” but it’s still safe on the server.
iCloud.com
Log in to iCloud.com from a computer or your mobile browser.
Check the “Photos” library there. If you see your photos on the website but not on your phone, you simply have a syncing issue, not a data loss issue.
Google Photos: Check the Archive
Did you accidentally swipe the photo away?
- Go to Library > Archive.Archived photos are removed from your main timeline but stay safely stored in your account.
4. Mobile-Friendly Recovery Tools
If the trash is empty, you need tools that scan the “unallocated” space of your phone’s flash memory.
DiskDigger (Best for Android)
This is the most trusted app for direct-on-phone recovery.
- Basic Scan: No “Root” required. It finds thumbnails and cached versions of deleted photos.
- Full Scan: Requires Root access but can recover original high-res files.
Tenorshare UltData & Dr.Fone
While these have mobile companion apps, the most effective way to use them is by connecting your phone to a PC or Mac via USB.
- Why? Desktop software has more processing power to bypass system restrictions and read raw data blocks without risking further corruption to the device.
5. The “Hidden” US Backups: Amazon and Carriers
Many American users have secondary backups they aren’t even aware of.
Amazon Photos
Are you an Amazon Prime member? Most Prime members have Unlimited Full-Resolution Photo Storage.
- The Hack: Download the Amazon Photos app and log in. Many users find years of photos automatically backed up here because they enabled the feature once and forgot about it.
Carrier Clouds (Verizon, AT&T, T-Mobile)
If you bought your phone through a carrier, you might have their proprietary cloud service active.
- Verizon Cloud: Check the app; it often backs up contacts and media independently of Google or Apple.
- T-Mobile/AT&T: Check your plan details; they often include a “Personal Cloud” storage feature.
6. Social Media & Messaging Apps
Don’t forget that you might have shared that photo. Digital footprints are your friend here.
- iMessage/WhatsApp: Go to the specific chat with the person you might have sent the photo to. Tap their name at the top and look for “Media, Links & Docs.” Even if you deleted it from your camera roll, the sent copy remains in the chat database.
- Instagram/Facebook: Check your “Stories Archive.” Instagram keeps a private record of every story you’ve ever posted. You can easily “Save Phone” from there.
7. Professional Data Recovery (Physical Damage)
If your phone was crushed, dropped in the Atlantic, or won’t turn on, software cannot help you. You need a cleanroom laboratory.
In the US, we have world-leading labs:
- DriveSavers (Novato, CA): Known for recovering data from devices destroyed in fires or floods.
- Ontrack (Eden Prairie, MN): Specialists in SSD and mobile flash memory recovery.
- Cost Warning: These services are professional-grade and cost between $500 and $2,000. Use them only for irreplaceable memories like weddings or a child’s first steps.
8. Summary of Tools
| Tool | Platform | Best For | Cost |
| iCloud/Google Trash | iOS/Android | Accidental deletes (<30 days) | Free |
| DiskDigger | Android | Direct mobile scanning | Free/Paid |
| Amazon Photos | iOS/Android | Forgotten backups (Prime members) | Included with Prime |
| PhotoRec | PC/Mac | Advanced/Technical users | Free (Open Source) |
| Geek Squad | Retail (US) | Hands-on assistance | Varies |
9. How to Prevent This in the Future
Avoid the stress of recovery by setting up a 3-2-1 Backup Strategy:
- 3 Copies: Keep three copies of your data.
- 2 Media Types: Use two different storage methods (e.g., Phone Memory + Cloud).
- 1 Offline Copy: Once every few months, plug your phone into a computer and move photos to an External SSD or Hard Drive.
Pro Tip: Enable “Cellular Data Backup” in your Google Photos or iCloud settings.
Many people lose photos because they were taken while traveling without Wi-Fi, and the phone was lost/broken before they returned home to sync.
Final Thoughts
Data recovery is a race against time.
Start with the easiest methods (Trash and Cloud) and work your way up to specialized software.
If you are in the US, you can also visit an Apple Store or a Best Buy (Geek Squad) for hands-on help if you’re uncomfortable using recovery software yourself.
Stay calm, follow the steps, and good luck getting your memories back!
Disclaimer: This guide is for informational purposes. Always check the privacy policy of third-party apps before granting access to your personal data.