
Get Your Deleted Photos, Videos & Files Back on iPhone
Deleted a photo, video, or file by mistake? Breathe — it’s often not really gone.
Anúncios
Pick what you lost below and follow the simple guide to get it back on iPhone.
What do you need to recover?
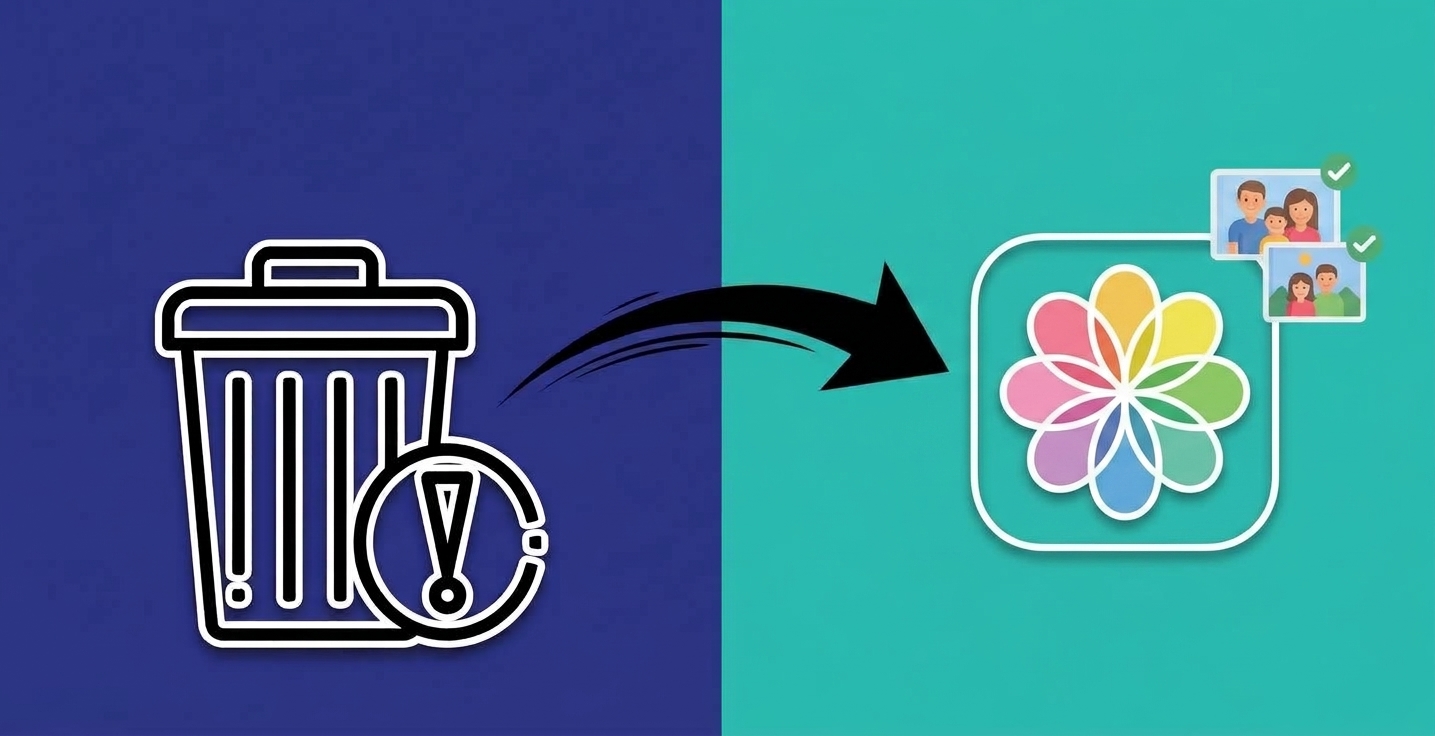
The Complete Guide to Getting Your iPhone Data Back
Anúncios
That sinking feeling hits everyone at some point: one wrong tap, one hasty cleanup, and a treasured photo, a once-in-a-lifetime video, or a file you needed for work is suddenly gone from your screen.
For a moment, it feels final.
It usually isn’t.
In most situations, nothing has truly vanished — the file is simply hidden from view, sitting quietly until the right recovery step brings it back.
This guide walks through exactly how that works on iPhone, without the technical jargon.
What Actually Caused the Loss?
Knowing the cause helps you pick the right recovery path. The usual suspects:
Accidental deletion — the most common cause by far. A rushed swipe, a bulk cleanup gone wrong, an unintended tap.
iOS update glitches — a hiccup during an update can wipe data unexpectedly.
Malicious apps or profiles — rare on iOS, but they can hide or corrupt files.
Physical damage — drops, water, or overheating can damage the storage chip itself.
Erase All Content and Settings — a full reset erases user data far more thoroughly than a normal deletion.
Why Deleted Doesn’t Mean Destroyed
Tapping “delete” doesn’t actually erase the file right away.
Think of it like a library removing a book’s card from the catalog, but leaving the book on the shelf.
The system just marks that spot in storage as “free to reuse” — the data itself stays put until something new gets written over it.
That’s the entire window of opportunity: the file survives only until new data lands on top of it.
The single most important move: stop using the phone right away.
No new photos, no new app installs, nothing saved.
Every action from this point risks overwriting the exact spot where your file lives.
3 Things to Try Before Anything Else
Before downloading any recovery app, run through this quick checklist — it solves the problem instantly for a lot of people:
Freeze the phone. Turn on Airplane Mode so nothing syncs or downloads in the background.
Check “Recently Deleted.” Open Photos, tap Albums, and look in Recently Deleted — items stay there for 30 days.
Check iCloud. If iCloud Photos or iCloud Backup is turned on, there’s a strong chance your file is sitting safely there already.
Picking the Right Recovery App
If those steps didn’t turn anything up, it’s time for a dedicated app.
The right pick depends on your situation and how far back the file goes.
Situation | Goal | Difficulty | What to Look For
Recent deletion | Recent photos/videos | Easy | Scans the device directly, includes preview before recovery
Have an iCloud backup | Any file type | Easy–Medium | Can browse backup contents without a full restore
No backup at all | Photos/videos/contacts | Medium | Deep on-device scan, clear success-rate expectations
Tip: stick to apps with a real track record and visible reviews — and check that the permissions it asks for actually make sense for what it does.
Step by Step: Running a Recovery
Install carefully. Download the app you’ve chosen from the official App Store.
Sign in. Allow it to check your device and iCloud data as prompted.
Choose scan depth. A quick scan usually covers anything deleted recently; a deep scan digs further back but takes longer.
Preview before restoring. Good apps let you check a thumbnail or preview before you commit — only pick what you actually need.
Save somewhere new. Never restore a file back to the exact spot it was deleted from — pick a different folder or location entirely.
When It’s Time to Call in a Professional
Some situations are beyond what any app can fix:
Physical damage — water damage, fire, or a drop severe enough to affect the storage chip.
Deep corruption — rare cases where the file system itself is too damaged for consumer software to read.
Specialized data recovery labs can sometimes extract data directly from damaged hardware using tools regular apps don’t have access to.
3 Mistakes That Can Ruin Your Chances
Keeping the phone in normal use.
Every new photo or app install risks landing right on top of the data you’re trying to save.
Downloading from sketchy sources.
Only ever use the official App Store — anything else risks malware or worse.
Restoring a full backup carelessly.
This can overwrite newer files you wanted to keep — extract just what you need instead.
Avoiding This Next Time
Recovery is a great safety net, but prevention beats it every time:
Turn on iCloud Backup — so new files are backed up the moment they’re created.
Check your iCloud storage plan — a full account can silently stop backing up new files without warning you.
Keep iOS updated — software updates fix the bugs that sometimes cause data loss in the first place.
Common Questions
Can I recover files after Erase All Content and Settings?
It’s very difficult. A full erase wipes far more thoroughly than a normal deletion, and recovery at that point usually depends on having a prior iCloud backup.
Do I need a computer to recover files?
Not usually. Most recovery apps work entirely on the phone. A computer isn’t required for the vast majority of cases.
Why is iPhone recovery more limited than Android?
iOS keeps a tighter lock on the file system, so most recovery works through your iCloud backup rather than scanning the device directly.
The Bottom Line
Losing a file doesn’t have to be the end of the story.
Act quickly, follow these steps in order, and your odds of getting it back are genuinely good.
Handle today’s emergency first — then set up iCloud Backup so it doesn’t happen again.
